Because your hearing aid represents a significant investment, it should be a major priority to do whatever it takes to make them last. Besides improving their performance, proper cleaning, and maintenance of your hearing aids add to their longevity. I have put together some essential maintenance and cleaning guidelines to help encourage my patients to get the most out of their hearing aids. Before cleaning, it is a good idea to familiarize yourself with the various parts of a hearing aid, and then assemble all the tools you need to do the job.
Assembling the Right Tools
Check with your hearing aid provider for a complete list of suggested tools or cleaning kits they might have available before you rush out and spend your hard-earned cash. Common hearing aid cleaning tools often include:
- A Cleaning Brush. A soft bristle toothbrush or any soft bristle brush will help clean the body, faceplate, and sound port of your instrument. A handy feature included with some specialized brushes is a magnetic battery removal tool.
- Wax Pick or Wire Hook. Used for digging out earwax and other built-up debris from nooks and holes in your hearing aid.
- Multi-Tool. There are multi-tools with all you need to perform a thorough cleaning if you have difficulty keeping up with a lot of small things.
- Bulb Blower (optional). Found where cameras and photographic equipment are sold, these are useful for some hearing aid cleaning tasks.
ITE (in-the-ear) Style Hearing Aid Cleaning:
- Hold the instrument so that the opening is facing downward and brush away built-up earwax and debris.
- Use the wax pick or wire hook to dig out any stubborn or stuck debris not removed by the brush.
- Wipe down the entire device with a clean, dry cloth or tissue to finish.
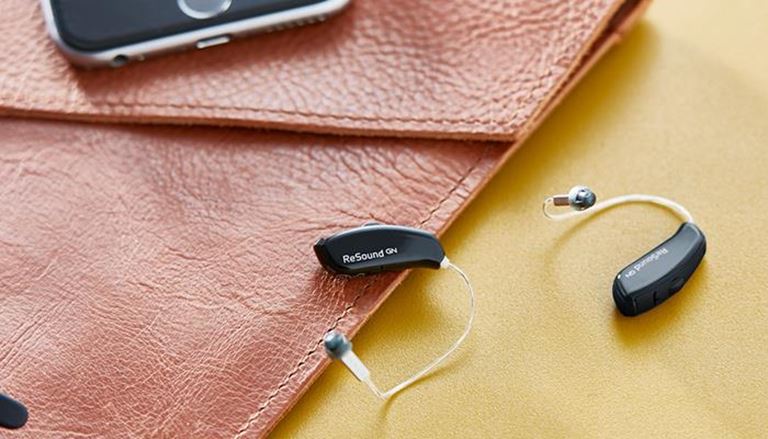
BTE (behind-the-ear) Style Hearing Aid Cleaning Steps:
- Detach the earmold from the hook to clean them separately, following the same steps used to clean ITE styles.
- Various earmolds made from soft materials can stain or discolor. Soak them in warm, soapy water daily to prevent this damage and DO NOT use alcohol and harsh chemicals. Allow plenty of time for drying before use.
- Use a Bulb blower for forcing water or wetness from inside tubes or other parts of your device as necessary.
Additional Hearing Aid Care Tips
Cleaning and maintenance extend longevity and enhance performance, but there are several other hearing aid care tips that also help protect your investment, including:
- Avoid Moisture (hair sprays, gels, showers, saunas, swimming pools, the beach)
- Clean at the End of Each Day (overnight drying time, daily cleaning makes it easier)
- Avoid Extreme Temperatures (cold weather produce the risk of condensation, heat and sun cause material melting or UV damage)
- Don’t Fix Them Yourself. If you see cracks in the case, tubing defects, or loose wires when cleaning your hearing aid, take them to a professional who has the right parts, tools, and expertise to provide proper repair and maintenance.
Protecting your hearing aids includes regular cleaning and maintenance to improve performance and longevity. I want my Dublin and Laurens County, GA patients to enjoy the incredible benefits provided by hearing aids. The Hearing Center of Dublin ENT team is always available to answer questions about cleaning and maintenance or provide tech support.
Contact us for more information on cleaning your hearing aids or request a callback from The Hearing Center of Dublin ENT to set up an appointment or consultation.